
Masking Images in Flutter
How you can easily mask any image in Flutter with your own custom masks.

Author : Subroto Banerjee (Twitter) (Github)
Flutter is an open-source UI software development toolkit created by Google. It is used for building natively compiled applications for mobile (Android and iOS), web, and desktop from a single code-base. Some key features of Flutter include Single Code-base, Fast Development, Expressive and Flexible UI, High Performance and Dart Language to name a few.
Flutter is widely used for building cross-platform applications, making it popular among developers who want to create applications for multiple platforms efficiently.
Now, when you build these pretty applications with Flutter, you often have to use images and you also may have to experiment with your images. One such “experiment“ that you can perform on your image is Masking your image with a custom/pre-existing mask. Let’s learn how to mask our images in flutter.
Note from the author
This blog is mainly about masking images in Flutter. We are going to use one of my sample projects - Image Masking for reference. I would highly urge you to fork and clone the repository to your local system and follow with me to understand better. PS: Do not forget to give me a follow on Github ;) .Anyways, let’s jump right into this…
What is a Mask ?
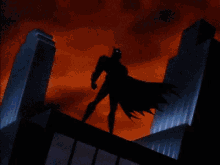
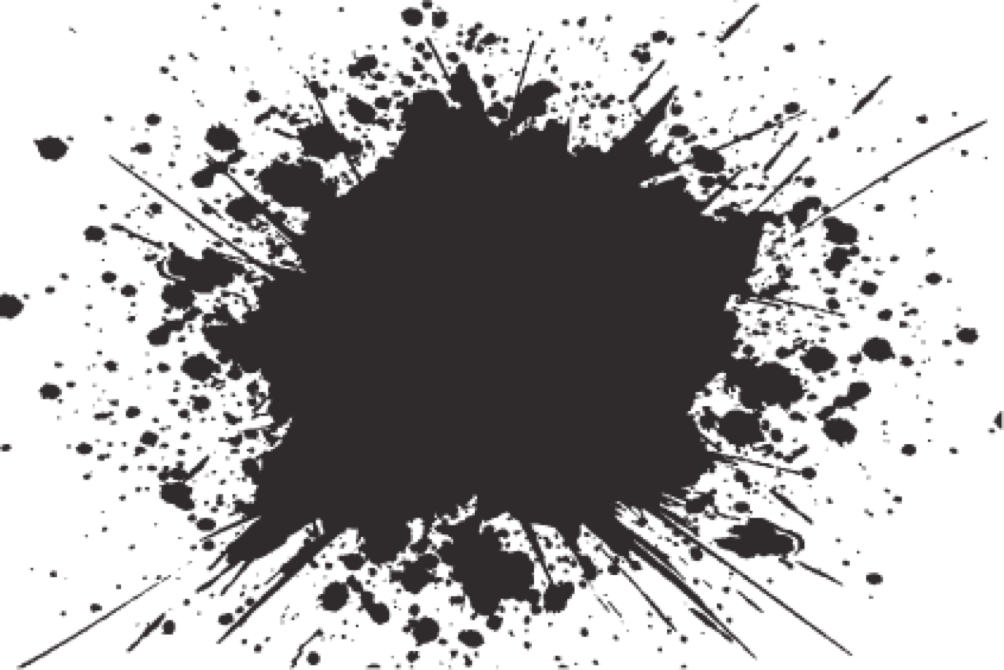
A mask is any image which acts kinda like a frame and helps you clip your image within itself while exposing only those parts of your image which is within the frame/unclipped portion of the mask image. Below are some examples of mask images :

How Can I mask images in my application ?

Flutter is known for its well maintained documentation and its community which has built excellent packages for most of the tasks you need to perform as a flutter developer and so is the case here.
We have a package called widget_mask in pub.dev which can easily help you acheive this task.
Let’s mask up!
First, Install the package inside your Flutter project
flutter pub add widget_maskNext, add the widget where you want to place it in your code

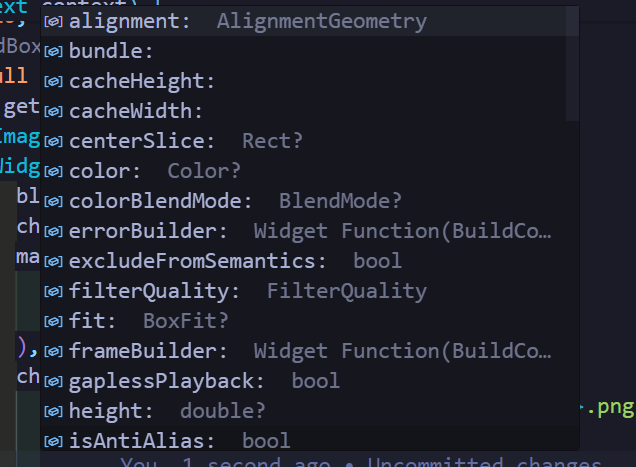
it gives you two required named arguments - mask and child, and a few more arguments.
maskNamed ArgumentHere you have to add the image which has to be masked
childNamed ArgumentHere you have to add your custom mask / filter / cropper for the image.
Other Properties
This widget allows you to use a lot of inherent properties if you press ctrl + space on your keyboard
below is my written code…
WidgetMask(
  blendMode: BlendMode.srcATop,
  childSaveLayer: true,
  mask: Image.file(
    image!,
    fit: BoxFit.cover,
),
  child: Image.asset(
    'assets/user_image_frame_${mask.getFinalNum}.png',
     width: 300,
))
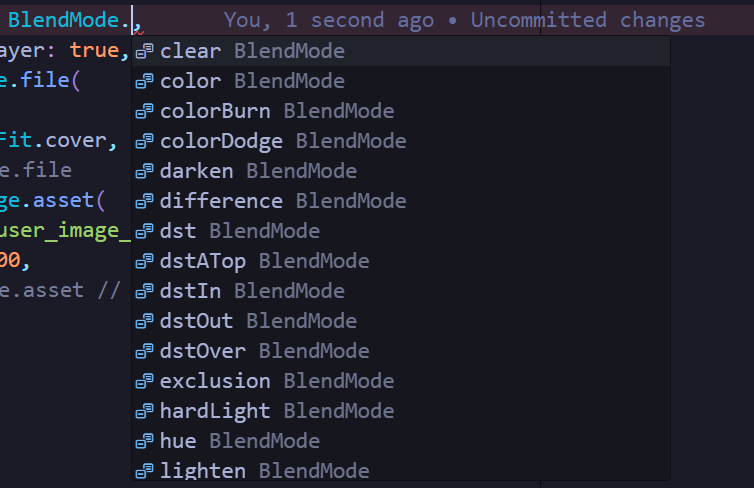
blendModehelps you configure the position of your image with respect to the mask image. It provides you various options :
childSaveLayerhelps paint the child widget into a separate save layer. You can use as many properties as required to obtained the desired masked image.
After writing the widget, let’s try this out…
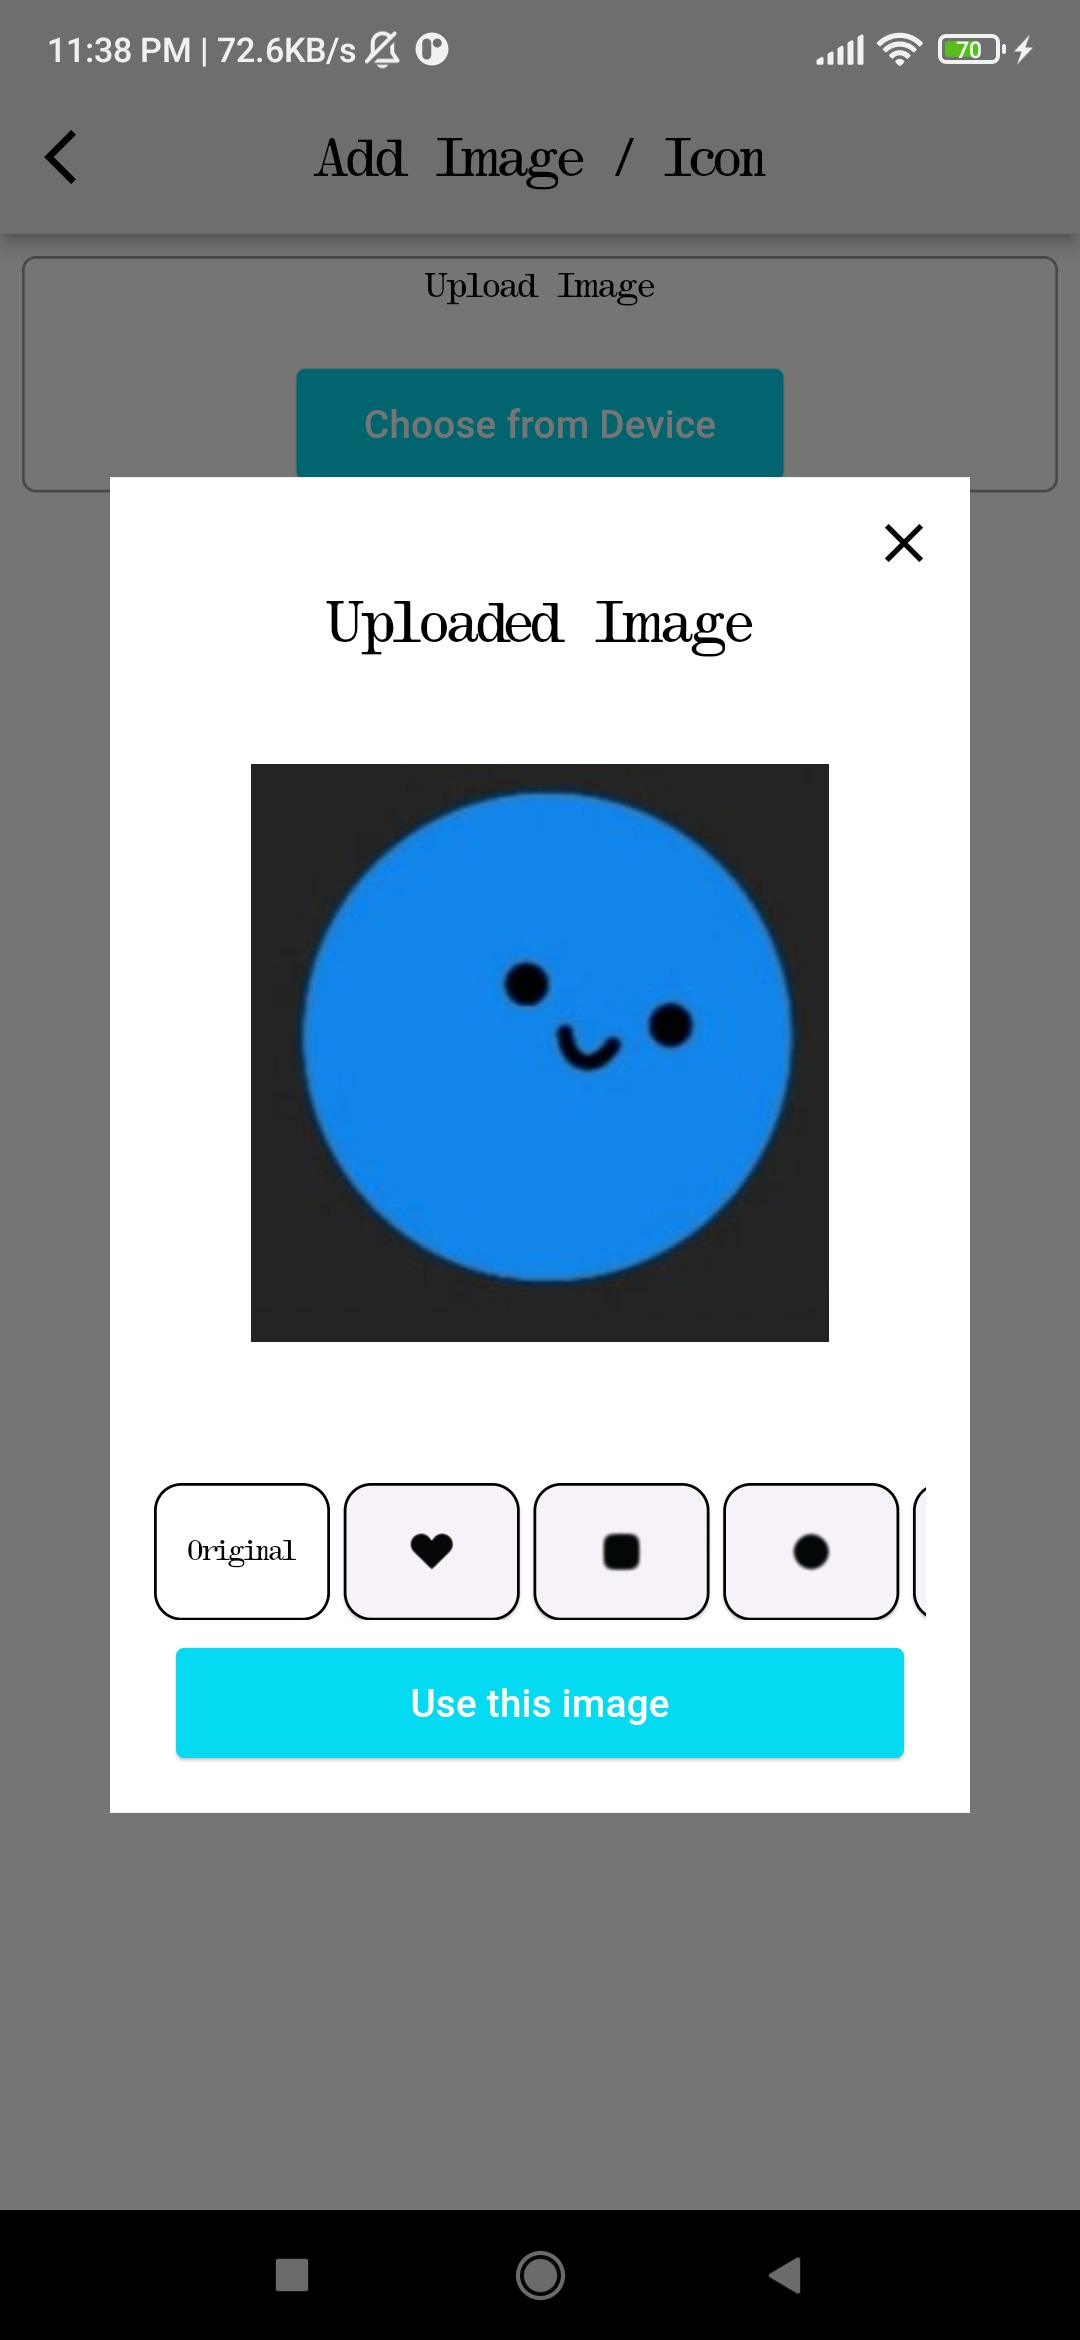
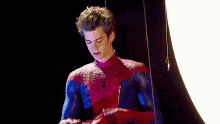
I selected a random image and then chose a mask…
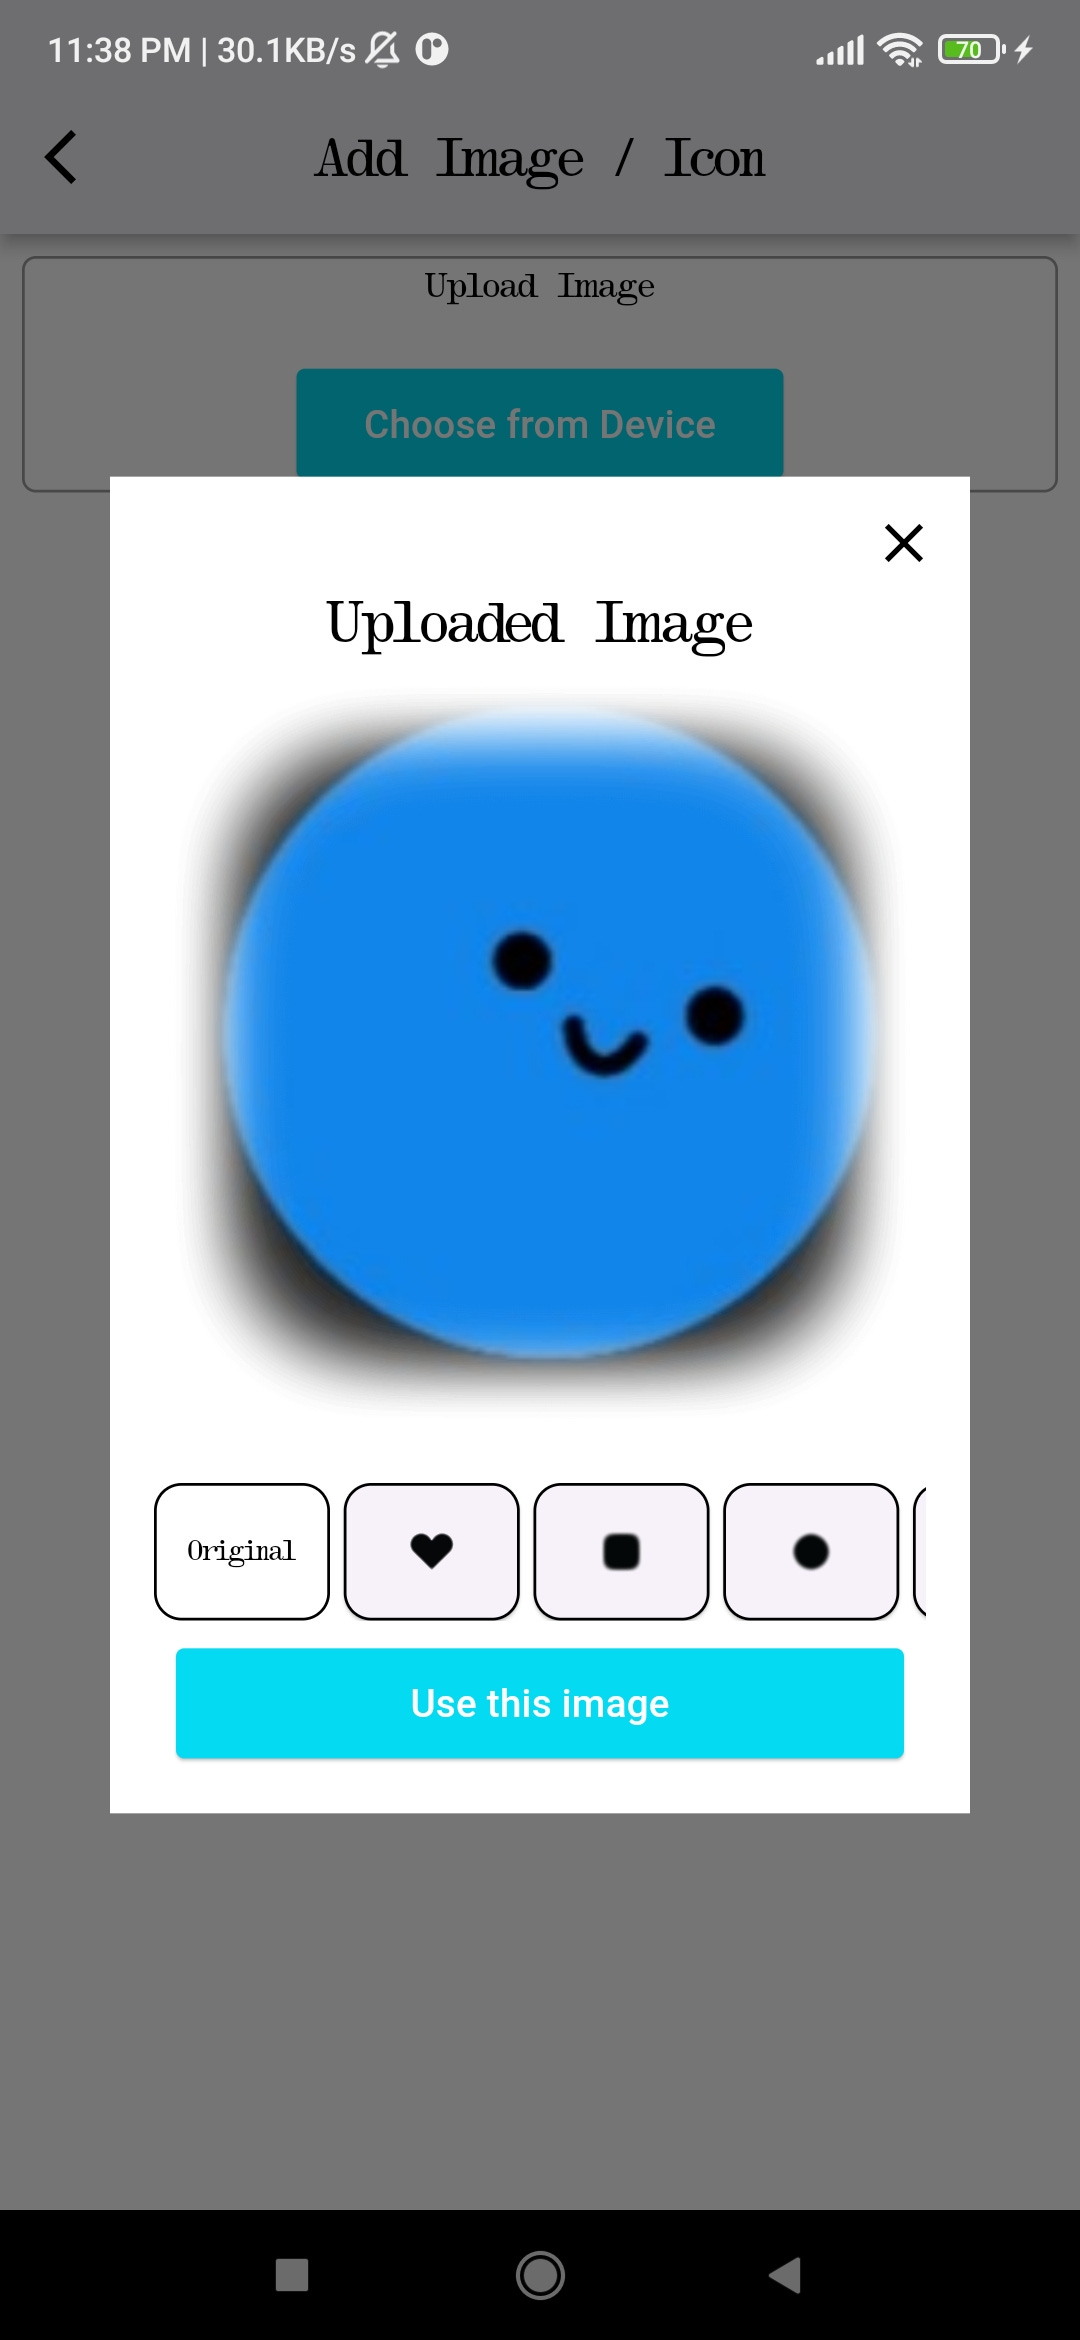
and the result is…
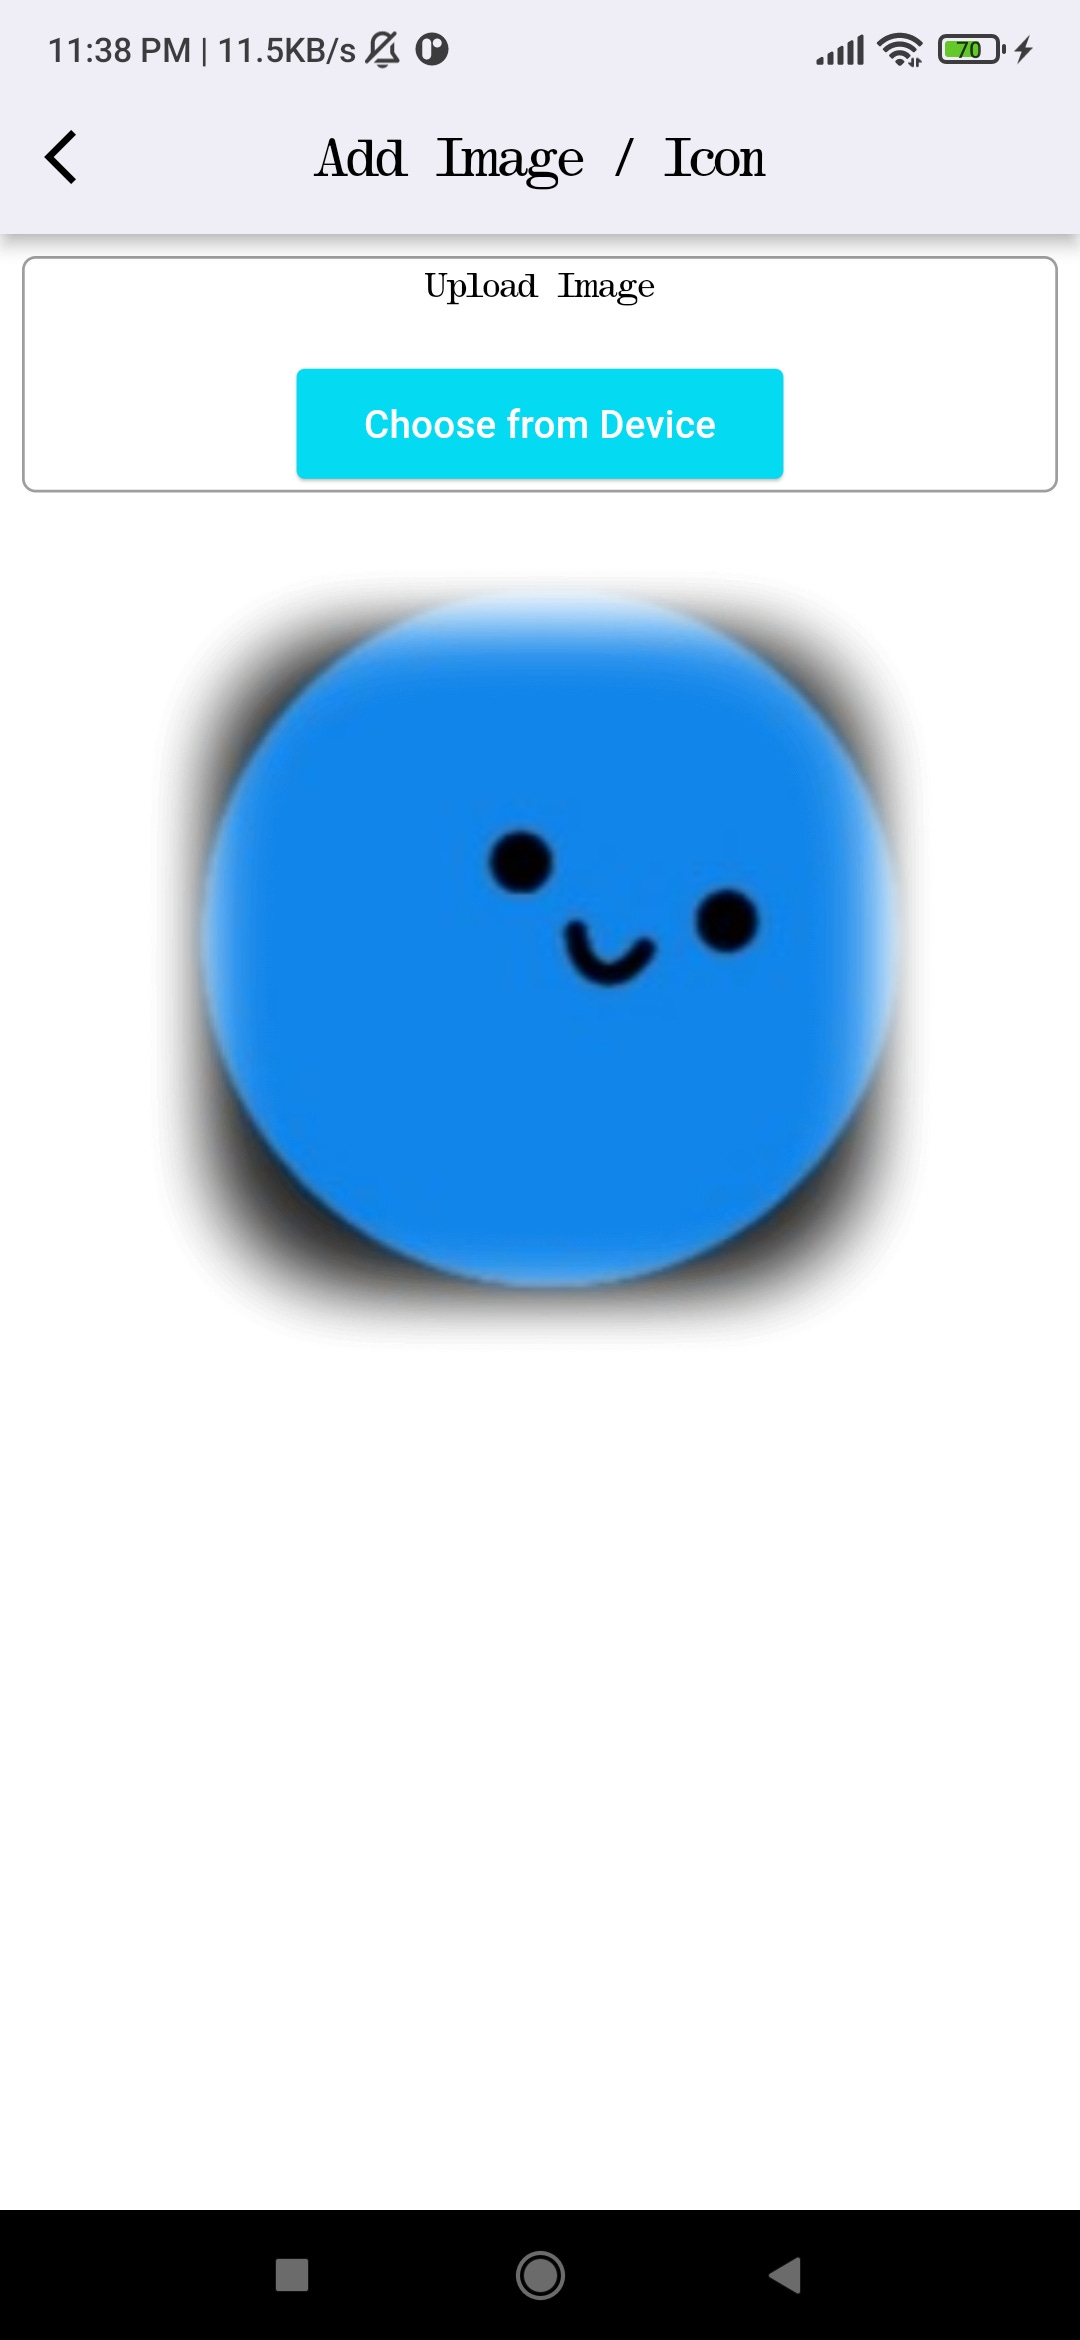
And that is how, you have got your image masked!
Time to recap!
Flutter is a versatile UI toolkit by Google for building apps across mobile, web, and desktop from a single codebase. It boasts features like fast development, expressive UI, high performance, and uses the Dart language. A useful technique in Flutter is image masking, which allows you to clip an image with a custom or pre-existing mask. This is achievable with the `widget_mask` package from pub.dev, simplifying the process. Masks act like frames, exposing only specific parts of an image. Flutter's extensive documentation and community support make it easy to integrate such features into your apps.
Thanks, for coming this far, I hope you enjoyed reading this blog and took away some learning. If you did, consider following me on substack and other platforms. I generally yap about communities, something I am learning or about my life and experiences. You can read my previous blogs . Do drop your comments, and if you wanna connect or ask any question, hit me up in my DMs.
Untill the next time… peace out.